Payments Overview
With Pluggy Payments, you can easily create payment links to bill your customers and automatically track their payments, leveraging secure OAuth integrations with institutions using the Open Finance Payment Initiation infrastructure.
You can also perform Scheduled Payments, which can be used for things like pre-agreed monthly billing.
Our Payments solution handles three main concepts:
- Payment Recipient: a bank account that receives payments
- Payment Request: a request to pay a certain amount to a recipient. It has a payment link that you can send to your customer to pay.
- Payment Intent: an attempt to pay a Payment Request. It is created when your customer clicks "Pay" in our payment website.
Feature only by inviteThis feature is in beta and must be enabled specifically for your client.
If you're interested in trying it out, please get in touch with our Sales team!
Example flow
- We first create a Payment Recipient to indicate what bank account will receive the payment (you'll only need to do this once per account).
Note: you can get the institution ids from this endpoint https://docs.pluggy.ai/reference/payment-recipients-institution-list
{
  "taxNumber": "11111111111", // CPF or CNPJ
  "name": "John Doe",
  "paymentInstitutionId": "37f43fff-30cb-4cb5-8213-6662ac08a8c6",
  "account": {
    "branch": "0001",
    "number": "123456",
    "type": "CHECKING_ACCOUNT"
  }
}
{ "type": "BANK_ACCOUNT", "id": "36fcb10f-825c-1111-b67c-93d0e47f4e77", "name": "John Doe", "taxNumber": "11111111111", "isDefault": false, "paymentInstitution": { "id": "37f43fff-30cb-4cb5-8213-6662ac08a8c6", "name": "SWAP MEIOS DE PAGAMENTOS INSTITUICAO DE PAGAMENTO S.A.", "tradeName": "SWAP MP IP SA", "ispb": "31680151", "compe": null, "createdAt": "2023-12-08T17:52:21.001Z", "updatedAt": "2023-12-08T17:52:21.001Z" }, "account": { "type": "*******", "number": "****56", "branch": "0001" }, "pixKey": null, "createdAt": "2025-06-25T14:09:44.717Z", "updatedAt": "2025-06-25T14:09:44.717Z" } - Create a Payment Request with the amount you wish to charge your customer, along with the recipient ID from the previous step.
{
  "amount": 0.01,
  "description": "My payment request",
  "recipientId": "ab276a3d-17ba-47eb-97bf-688475037ffe"
}
{
"id": "bb236f8d-caa5-47eb-97bf-688475037f3e",
"amount": 0.01,
"description": "My payment request",
"status": "CREATED",
"createdAt": "2023-11-14T16:57:17.511Z",
"updatedAt": "2023-11-14T16:57:17.511Z",
"callbackUrls": null,
"paymentUrl": "https://pay.pluggy.ai/bb236f8d-caa5-47eb-97bf-688475037f3e"
}-
Send the response's
paymentUrlto your customer -
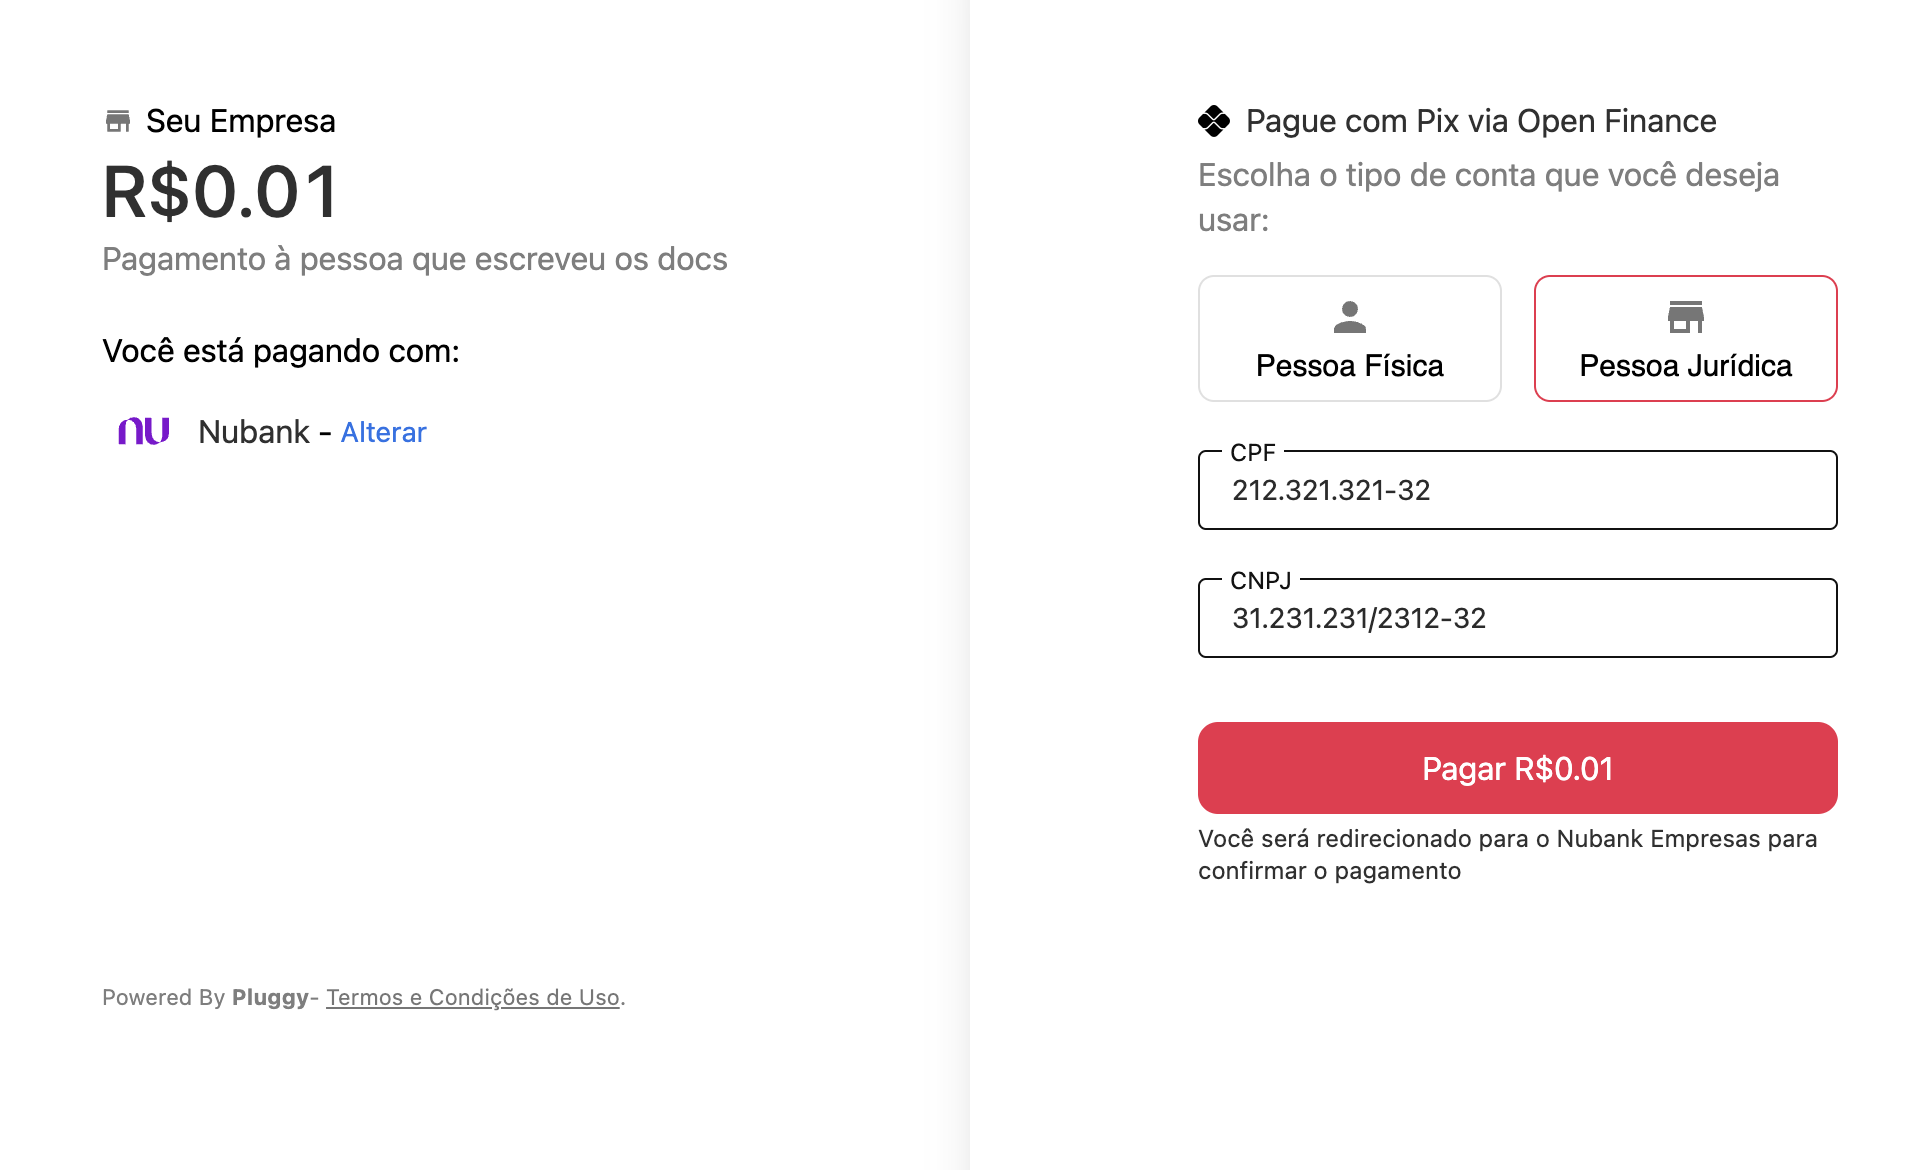
The customer will visit our Pluggy Pagamentos website

Reacting to a payment
You can indicate where to redirect the user after they complete a payment by using the callbackUrlsfield:
{
  "amount": 0.01,
  "description": "Transferência",
  "callbackUrls": {
    "success": "https://my-success-url.com",
    "error": "https://my-error-url.com",
    "pending": "https://my-pending-url.com"
  }
}
It is also possible to react to a completed payment to create useful automations, using webhooks .
Pre-filling the CPF/CNPJ
The payer CPF/CNPJ is required by Open Finance to start a payment. For PF, it requires CPF, and for PJ, it is both CPF and CNPJ. To improve the payment experience and reduce user mistakes, you can pre-fill it by creating a Payment Customer:
{
  "type": "INDIVIDUAL",
  "cpf": "123.456.789-12"
}
{
"type": "BUSINESS",
"cpf": "123.456.789-12",
"cnpj": "12.345.678/9012-34"
}Now, when creating the Payment Request, include the field customerId pointing to the previously created Payment Customer.
Pre-selecting the payer's institution
You can set a pre-selected institution for the payer when starting the payment initiation flow. This can be useful if you want to guide the user to use a specific institution to make the payment. To do this, you can create the payment customer by providing a connectorId:
{
  "type": "INDIVIDUAL",
  "cpf": "123.456.789-12",
  "connectorId": 612
}
Wrapping an existing PIX QR
If you want to use Pluggy to pay a PIX QR to allow tracking its payment, you can create a Recipient from PIX QR:
{
    "pixQrCode": "00020126490014br.gov.bcb.pix0108dict-key0215additional-info52040000530398654031005802BR5912example-name6006Cidade62090505tx-id63045E20"
}
Creating a custom payment experience
If you don't want to use our pay.pluggy.ai flow, you can implement your custom payment experience using our API.
First of all, you need to create a Payment Request. There, you will specify how much money you want to receive. Also, you can configure a description (to be shown to the final user at the moment they authorize the payment), and a set of callback URLs where the user will be redirected after the payment authorization was completed. Fields description , callbackUrl and isSandbox are optional.
{
  "amount": 100.50,
  "description": "Transferência",
  "callbackUrls": {
    "success": "https://my-success-url.com",
    "error": "https://my-error-url.com",
    "pending": "https://my-pending-url.com"
  },
  "isSandbox:": true
}
{
"id": "05c693bf-c196-47ea-a28c-8251d6bb8a06",
"amount": 100.50,
"description": "Transferência",
"status": "CREATED",
"createdAt": "2023-11-06T13:03:45.689Z",
"updatedAt": "2023-11-06T13:03:45.689Z",
"callbackUrls": {
"success": "https://my-success-url.com",
"error": "https://my-error-url.com"
},
"isSandbox": true
}You can find the endpoint details here
Creating a Payment Intent
After creating a payment request, you need to create a Payment Intent. This represents an intent of a person to make that payment. For example, if you want to charge a customer R$10, first you need to create a Payment Request for that amount, and then a Payment Intent when the user wants to pay.
To create a Payment Intent, you need to send the ID of the institution (connectorId) that the user will use to make the payment. You can find the connector list using our connector's endpoint and filter the ones with supportsPaymentInitiation property with value true. Also, you need to send the institution's required credentials in the parameters field. Those credentials also can be found in the connector's endpoint.
This is the request to create a Payment Intent.
{
  "paymentRequestId": "05c693bf-c196-47ea-a28c-8251d6bb8a06",
  "connectorId": 601,
  "parameters": {
    "cpf": "76109277673"
  }
}
{
"paymentRequestId": "05c693bf-c196-47ea-a28c-8251d6bb8a06",
"connectorId": 618,
"parameters": {
"cpf": "76109277673",
"cnpj": "11111111111111"
}
}{
"id": "4316602b-8fb5-4bfd-92dc-32921b7414f1",
"status": "CONSENT_AWAITING_AUTHORIZATION",
"createdAt": "2023-11-09T20:10:42.706Z",
"updatedAt": "2023-11-09T20:10:42.706Z",
"paymentRequest": {
"id": "f6696d02-3583-47ae-b195-148d71b8ae9b",
"amount": 100.50,
"description": null,
"status": "IN_PROGRESS",
"createdAt": "2023-11-09T20:10:25.084Z",
"updatedAt": "2023-11-09T20:10:42.706Z",
"callbackUrls": {
"success": "https://my-success-url.com",
"error": "https://my-error-url.com"
}
},
"connector": {
"id": 601,
"name": "Itaú",
"primaryColor": "48be9d",
"institutionUrl": "https://cdn.raidiam.io/directory-ui/brand/obbrazil/0.2.0.112/favicon.svg",
"country": "BR",
"type": "PERSONAL_BANK",
"credentials": [
{
"validation": "^\\d{3}\\.?\\d{3}\\.?\\d{3}-?\\d{2}$",
"validationMessage": "CPF deve ter 11 números.",
"label": "CPF",
"name": "cpf",
"type": "number",
"placeholder": "",
"optional": false
}
],
"imageUrl": "https://cdn.pluggy.ai/assets/connector-icons/itau.svg",
"hasMFA": false,
"oauth": true,
"health": {
"status": "ONLINE",
"stage": null
},
"products": [
"ACCOUNTS",
"TRANSACTIONS",
"IDENTITY",
"CREDIT_CARDS",
"PAYMENT_DATA",
"LOANS",
"INVESTMENTS"
],
"createdAt": "2023-07-24T14:29:32.140Z",
"isSandbox": true,
"isOpenFinance": true,
"updatedAt": "2023-11-09T19:17:08.495Z",
"supportsPaymentInitiation": true
},
"consentUrl": "https://consent-url.com"
}There are important properties in the response object:
- status
At this point, it will haveCONSENT_AWAITING_AUTHORIZATIONas value. It means the user needs to authorize it in the institution. You can check the other possible values here - consentUrl
It is the URL where you need to redirect the user in order to authorize the payment (it expires after 5 minutes). After the payment is completed, the user will be redirected to the URLs specified in thecallbackUrlsdefined before, or to a default URL provided by Pluggy if it wasn't specified.
You can find the endpoint details here
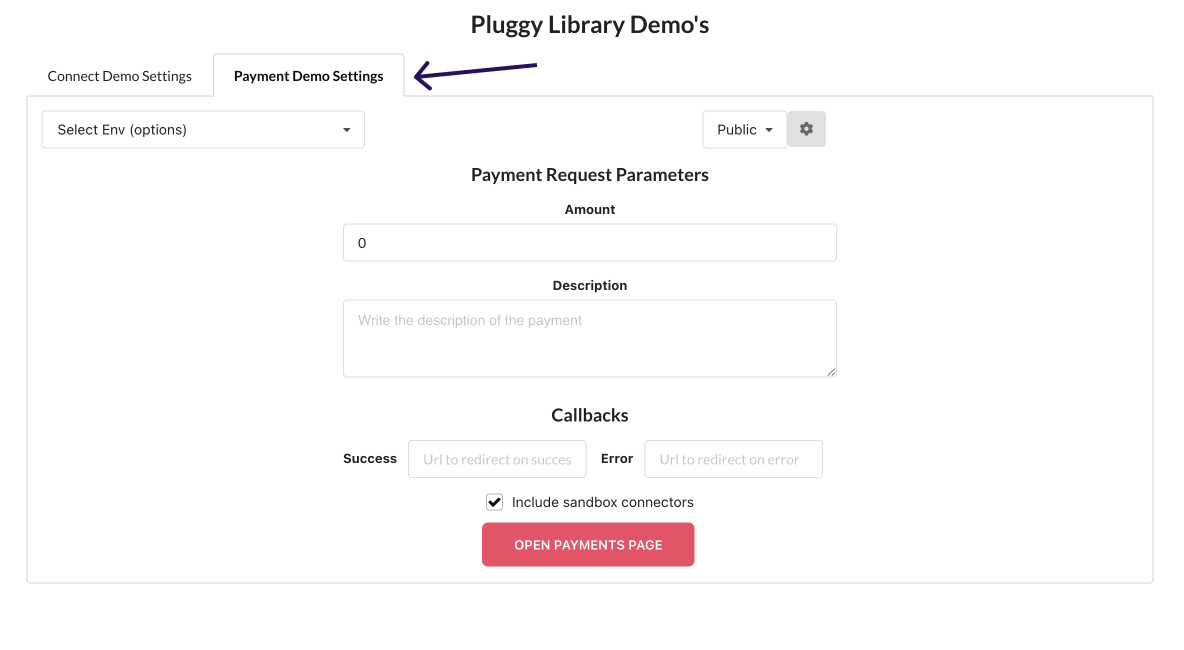
Testing payments with Sandbox bank
You can use our testing app (playground)[https://playground.pluggy.ai] to test the flow without any setup!
Using sandbox without playgroundTo test Sandbox payments in our App, simply create your Payment Request with
isSandbox: true.
Then, access:https://pay.pluggy.ai/<PAYMENT_REQUEST_ID>The page will automatically detect the sandbox environment and only list sandbox connectors for you to complete the flow. Use Sandbox connector with the following credentials:
{
  cpf: "76109277673",
  user: "[email protected]",
  password: "P@ssword01"
}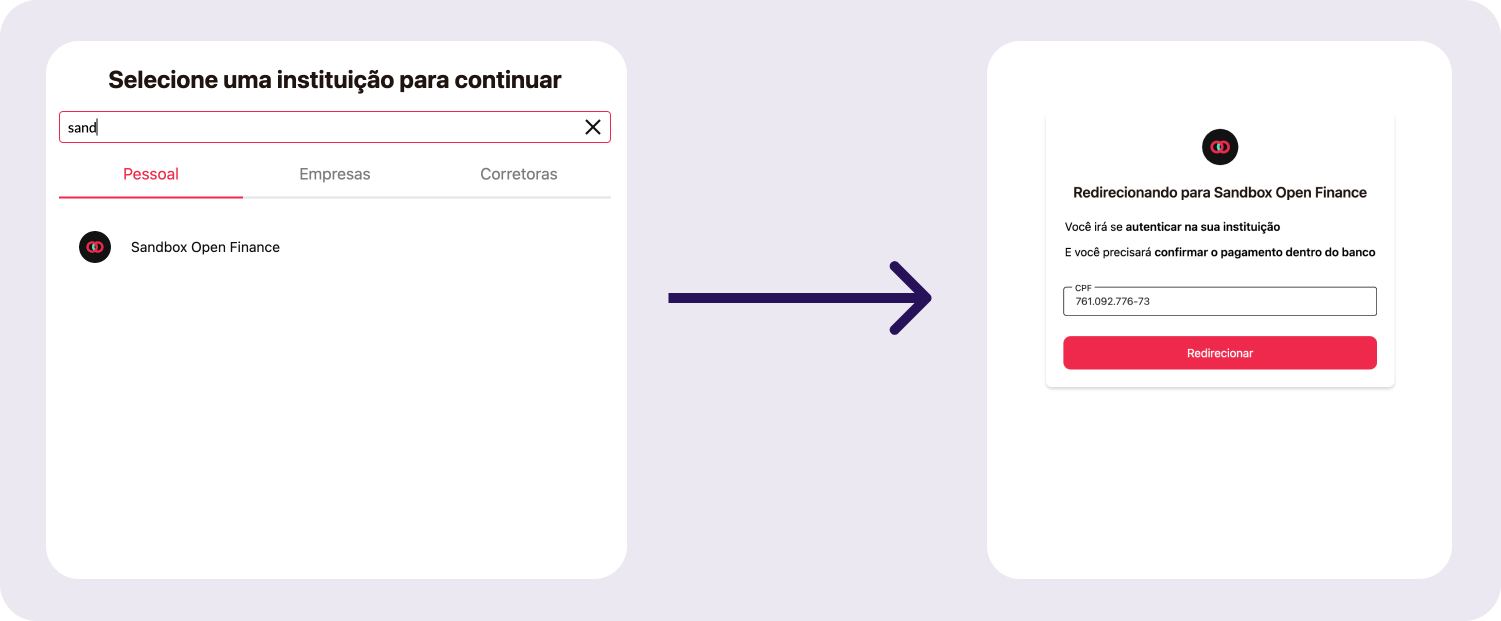
Use CPF credential in first Input
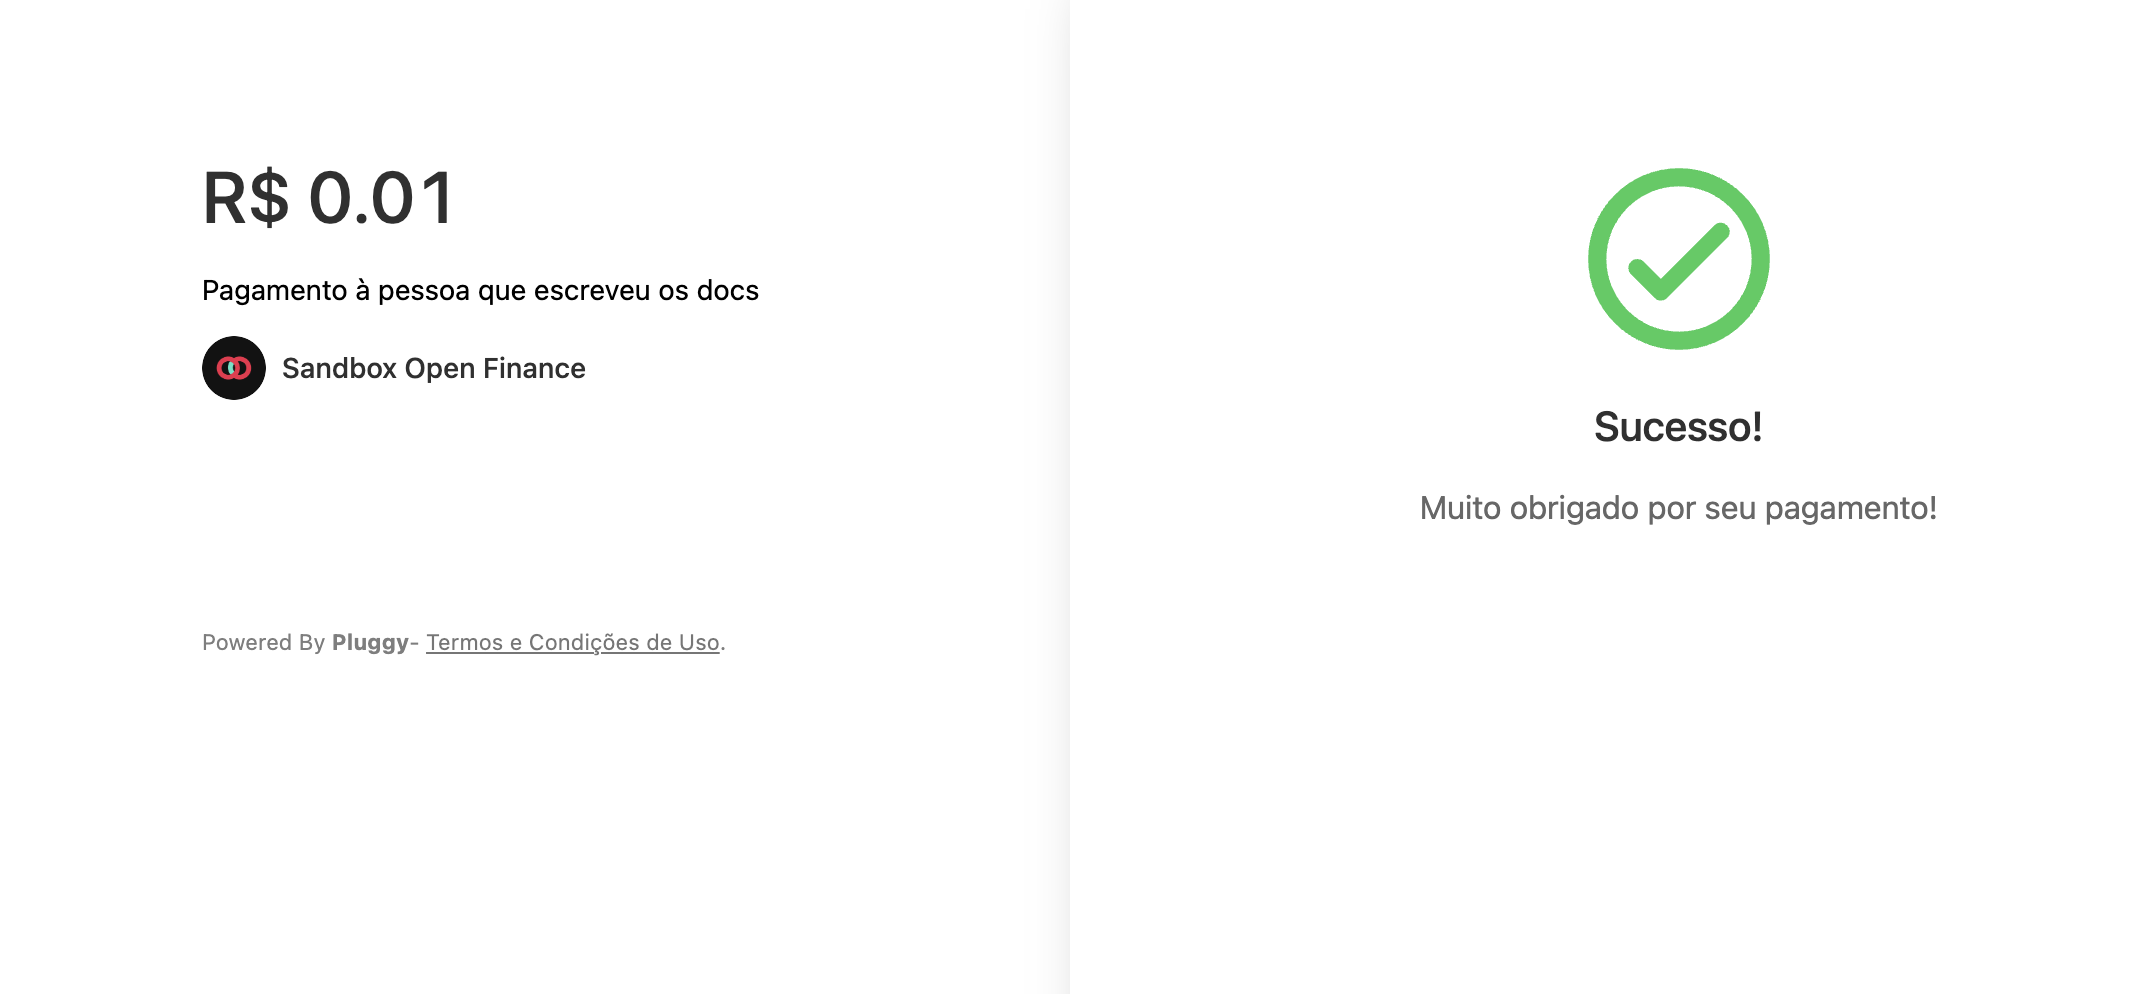
Use user and password to log in to Mock Bank, and it will redirect to the Success or Error Page depending on the result of the Payment.
Updated 6 months ago