Creating a use case from scratch
Purpose
This article is a step by step guide to build a simple example app that integrates with Pluggy. The idea of this guide is to piece together all of Pluggy's important concepts in a practical example.
What we'll build
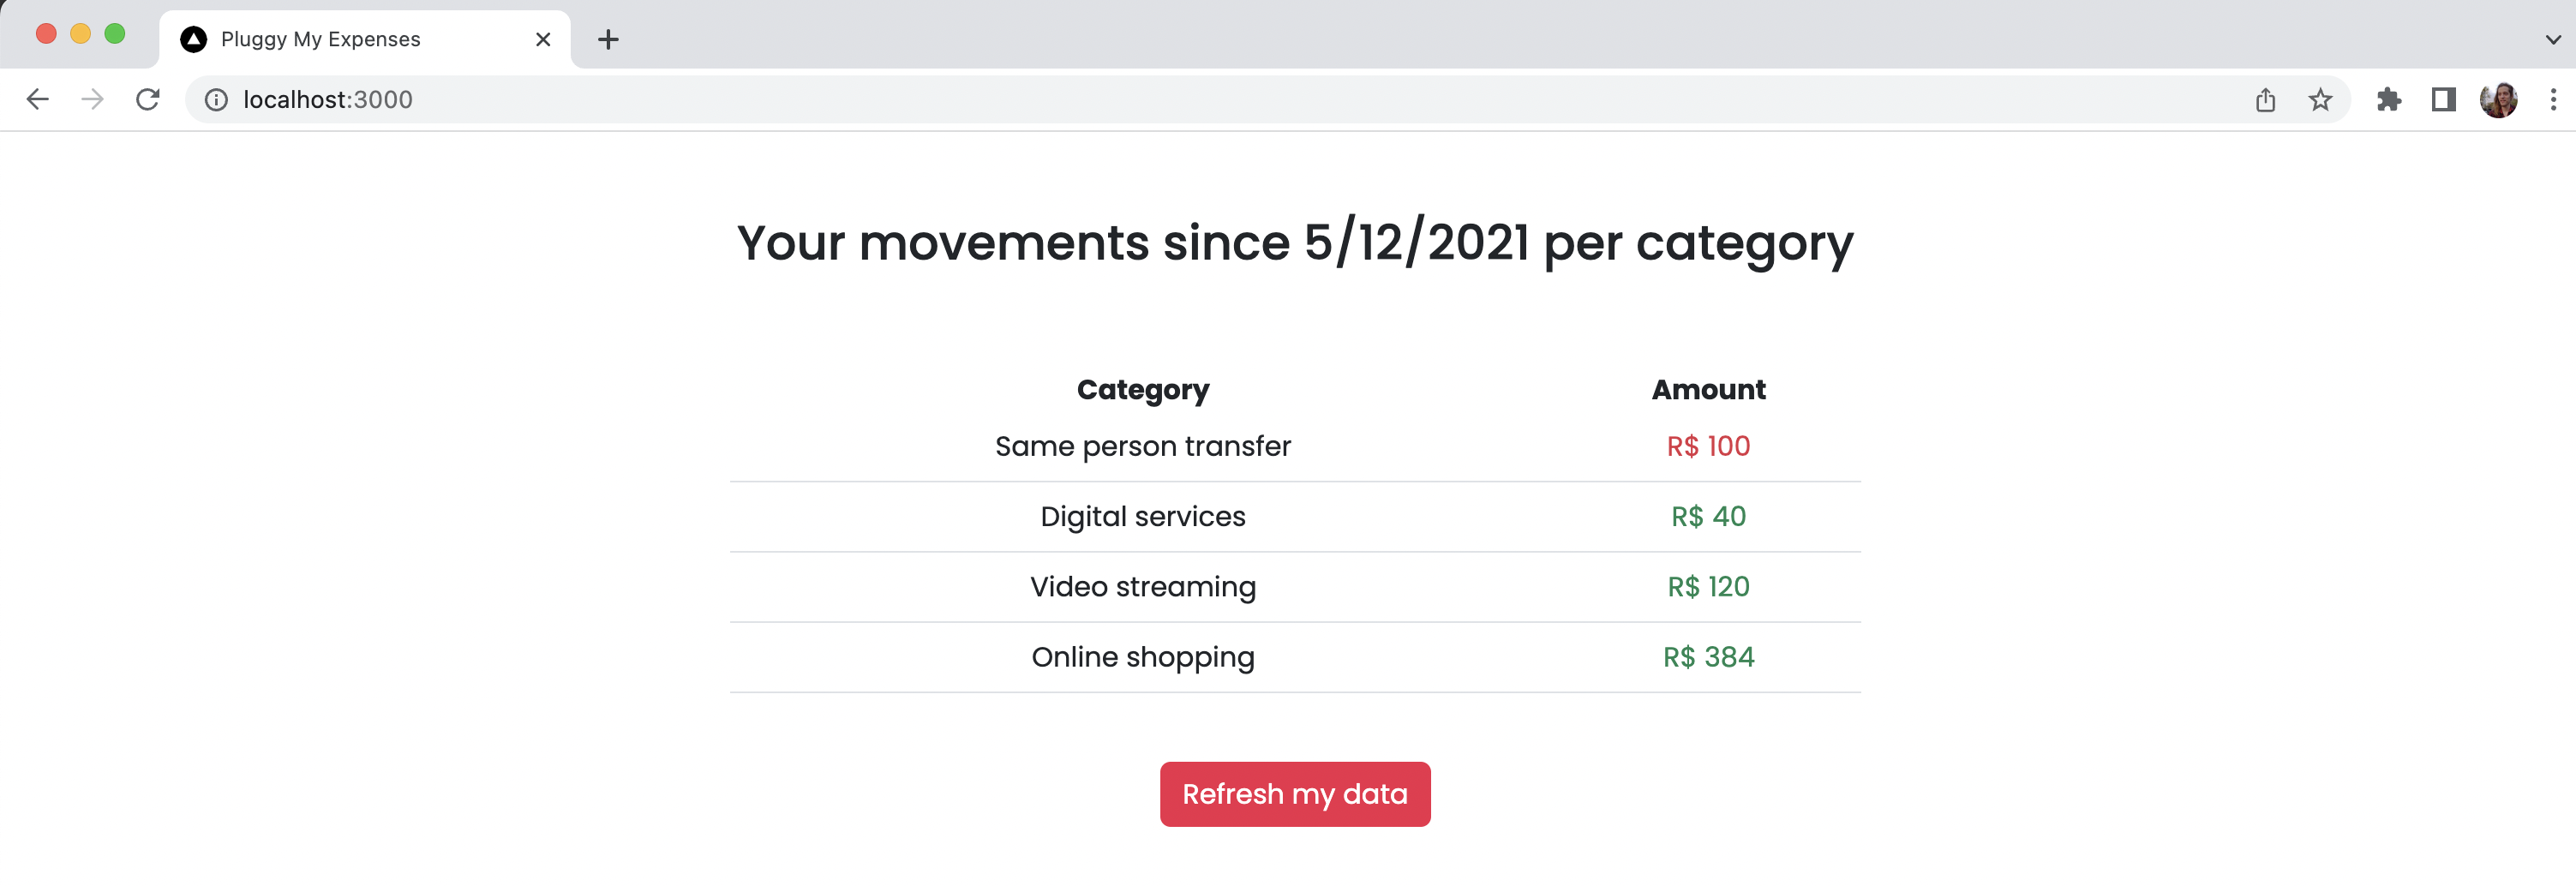
We'll build a simple PFM (personal financial management) application that shows you a report of your bank account movements split by categories.

This is the final result of our demo app
You can check out the code in the project repository.
Step 1: Creating a Pluggy account
First we'll need a Pluggy account to be able to connect bank accounts with our app and retrieve banking data with the Pluggy API. We will need to sign up into dashboard.
Step 2: Creating an application in dashboard
Once we have our account, we will need to create an application in dashboard. An application has a set of credentials (clientId and clientSecret) that our app will use to interact with the API.
Step 3: Testing the API
To check if we are correctly set up, let's obtain an API key to interact with the Pluggy API.
This is done through the /auth endpoint.
You can download the Postman collection and fill in your application's client id and client secret.
With this API key we can view and manage all Pluggy data for our application (PluggyMyExpenses).
Let's test our API key by invoking the /connectors endpoint, including the key in the X-API-KEY header. To learn more about Authentication with the Pluggy API, check out Authentication.
Step 4: Creating our project
In this example application, we will use Next.js with Typescript, but you can use whatever technology you're most familiar with.
Step 5: Connecting a bank account
To easily allow users to connect their accounts in our frontend, we can use the Pluggy Connect Widget, and open it with a button in our page.
Before we can instantiate the widget, we will need to create a Backend endpoint that generates a Connect token for every user that visits our page. This connect token has restricted permissions and duration for security reasons. Our endpoint logic would look something like this:
import { PluggyClient } from 'pluggy-sdk'

const PLUGGY_CLIENT_ID = process.env.PLUGGY_CLIENT_ID || ''
const PLUGGY_CLIENT_SECRET = process.env.PLUGGY_CLIENT_SECRET || ''

// ...

const client = new PluggyClient({
  clientId: PLUGGY_CLIENT_ID,
  clientSecret: PLUGGY_CLIENT_SECRET,
});

const connectToken = await client.createConnectToken()

// ...

res.status(200).json(connectToken)
To create connect tokens easily, we used the Pluggy Node SDK.
Security warningDo not store clientId and clientSecret in the frontend. If this information is visible in your page's code, an attacker can steal all of your user's banking data.
Now that we have our connect token endpoint, we can obtain it in our frontend and instantiate the widget when the user clicks a button, like this:
import { PluggyConnect } from 'react-pluggy-connect';

// Fetch connect token from backend and store it in 'connectToken'...

{isWidgetOpen ? (
  <PluggyConnect
		connectToken={connectToken}
 		includeSandbox={true}
 		onClose={() => setIsWidgetOpen(false)}
		onSuccess={onSuccess}
	/>) : (
  <button
    className="btn btn-primary btn-lg"
    onClick={() => setIsWidgetOpen(true)}
  >
    Connect your account
  </button>)
}
Here we used the React Pluggy Connect SDK
Usage in Next.jsIf you are trying to use the widget from a Next.js page, you will need to slightly change how the Widget loads. Check it out in the code here.
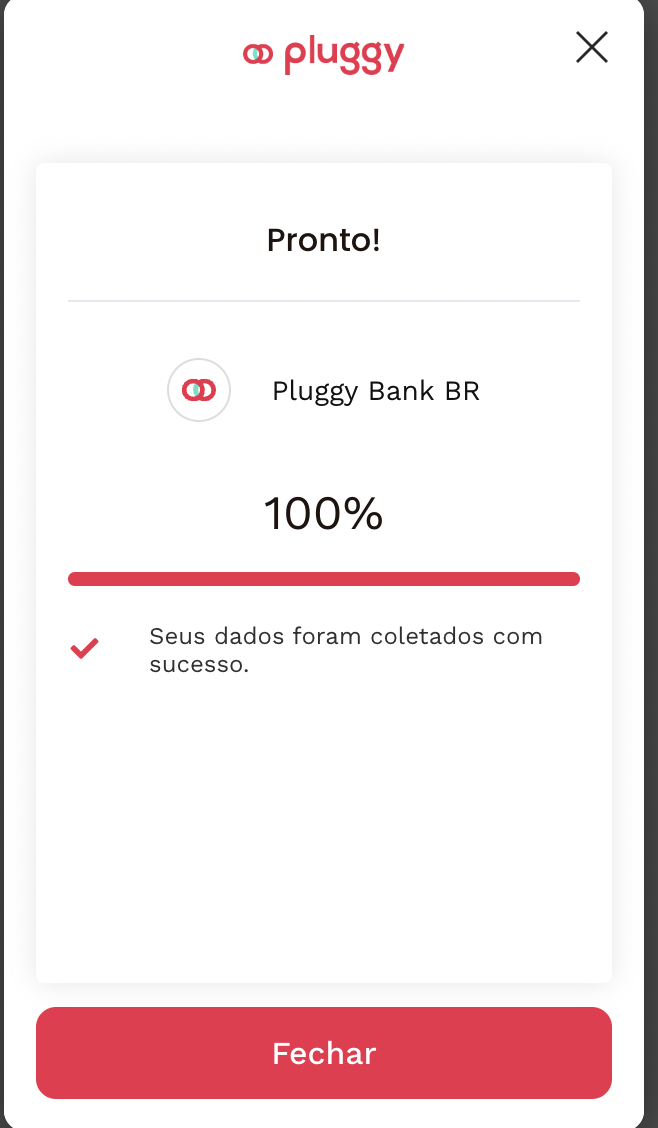
Now, when our user clicks on Connect my account, a Connect token is obtained and the Connect Widget instantiates with this token and opens up a modal for the user to input their credentials.
Once the bank account connects successfully, its banking data will be available in the Pluggy API for retrieval with our application's credentials.

If you want to try it out and connect a test account, you can use the sandbox connectors. Now, let's do something interesting with this data!
Step 6: Using the banking data
Once the user connects their account, we can obtain its data from the API. All data retrieved from the user is associated with an Item. Once the widget finishes, it emits an onSuccess event, with the id of the newly created Item.
Don't lose your itemId!For any action that you want to do in the future with the connected banking data, you will need the Item's ID (this value can not be recovered later). Make sure to store it by listening to the
onSuccessevent from the widget.
We can listen to this event and tell the backend to fetch the user data and create the report for our PFM:
const onSuccess = async (itemData: { item: any; }) => {
  const reportResponse = await fetch('/api/report?itemId=' + itemData.item.id)
  const {categoryBalances, startDate} = await reportResponse.json()
  setIsWidgetOpen(false) // Close the widget
  // ...
}import { PluggyClient } from 'pluggy-sdk';
const PLUGGY_CLIENT_ID = process.env.PLUGGY_CLIENT_ID || '';
const PLUGGY_CLIENT_SECRET = process.env.PLUGGY_CLIENT_SECRET || '';
const client = new PluggyClient({
clientId: PLUGGY_CLIENT_ID,
clientSecret: PLUGGY_CLIENT_SECRET,
});
// ...
// In this example we put all the transactions from all accounts in a list
const accounts = await client.fetchAccounts(req.query.itemId as string);
const transactions = [];
for (const account of accounts.results) {
const accountTransactions = await client.fetchAllTransactions(account.id);
transactions.push(...accountTransactions);
}
// Then we can do what we need with the data and return the responseFrom the backend report we can create a nice table and show the user their movements by category.

Step 7: Updating the banking data
The first time a user connects their account using the Widget, Pluggy will attempt to retrieve banking data up to 1 year back (or as much as the institution allows).
If we want to update the user's banking data without retrieving it all again, instead only retrieving new information, we can simply update the Item. We can do this easily by instancing the widget with the updateItem prop set
<PluggyConnect
  connectToken={connectToken}
  includeSandbox={true}
  onClose={() => setIsWidgetOpen(false)}
  onSuccess={onSuccess}
  updateItem={itemIdToUpdate} // Item ID we obtained when creating the connection
/>
Once the item was updated, the widget emits the onSuccess event and we can create our report again, with the updated item.
Step 8: Storing banking data
If we need to analyze the banking data from all our connected users (this is ideal for Credit scoring apps), speed up loading, and back up the banking data in case of an API outage, we probably need to set up our own database. You can use whatever technology and approach your business needs. In our example code we used Supabase (PostgreSQL) and we saved the item data every time an Item creation succeeds. If you are interested in how we did it, take a look at the project repository.
Step 9: Reacting to API events
Until now, we react to the widget's onSuccess to tell our backend that an Item was created.
But what if the user exits the page before the Item is created? Or what if we want to keep our items up-to-date without user interaction (for institutions that allow it)?
If we want to cover these use cases, we can use Pluggy's webhooks.
This way, we can set up an endpoint in our backend that Pluggy will call whenever an item is created or updated. We will receive a payload that looks like this:
{
  "event":"item/updated",
  "id":"a5c763cb-0952-457b-9936-630f79c5b016",
  "itemId":"a5c763cb-0952-457b-9936-630f79c5b016",
  "triggeredBy": "USER"
}
And we can handle it from our /items endpoint.
Then we need to create the webhook using the POST /webhooks endpoint from the Pluggy API.
{
    "event": "item/updated",
    "url": "https://{YOUR_APP_URL}/api/items"
}
Final thoughts
Congratulations! You're now up and running with your Pluggy powered application!
Updated 5 months ago
