# Personal use: read your own data with Meu Pluggy
If you are an individual who wants to read **your own** bank accounts with code — a personal finance script, a spreadsheet, an app only you use — the path is **Meu Pluggy** plus the **MeuPluggy connector**. It is free, needs no due diligence and does not expire with the trial. It is for personal use only (up to 5 connections, no commercial use).
Companies building a product for their users follow the regular integration instead ([Quick start](/docs/quickstart)) and talk to [Sales](/docs/get-started/contact).
The official guide from Meu Pluggy is at [meu.pluggy.ai/api-guide](https://meu.pluggy.ai/api-guide). This page shows the same four steps with the Pluggy Dashboard screens.
## Step 1 — Connect your banks in Meu Pluggy
Sign up at [meu.pluggy.ai](https://meu.pluggy.ai) and connect your banks there. This is where each bank is authorized (CPF, the bank's app, approval). **Each bank is authorized separately**, and a bank you add later needs its own authorization.
## Step 2 — Add the MeuPluggy connector in the Dashboard
1. Sign in to the [Pluggy Dashboard](https://dashboard.pluggy.ai) **with the same account** you use in Meu Pluggy.
2. If you use a custom connector selection, make sure **MeuPluggy** is switched on: **Customization → Connectors**, search `MeuPluggy` and open the **Direct Connectors** tab of the *Personal* group ([how](/docs/guides/dashboard-connectors#1-choose-which-connectors-pluggy-connect-shows)).
3. Open **Applications → your application → Demo** and click **Connect Account**.
4. In the widget, choose **MeuPluggy** — not your bank, and not the Sandbox — and sign in with your Meu Pluggy account.
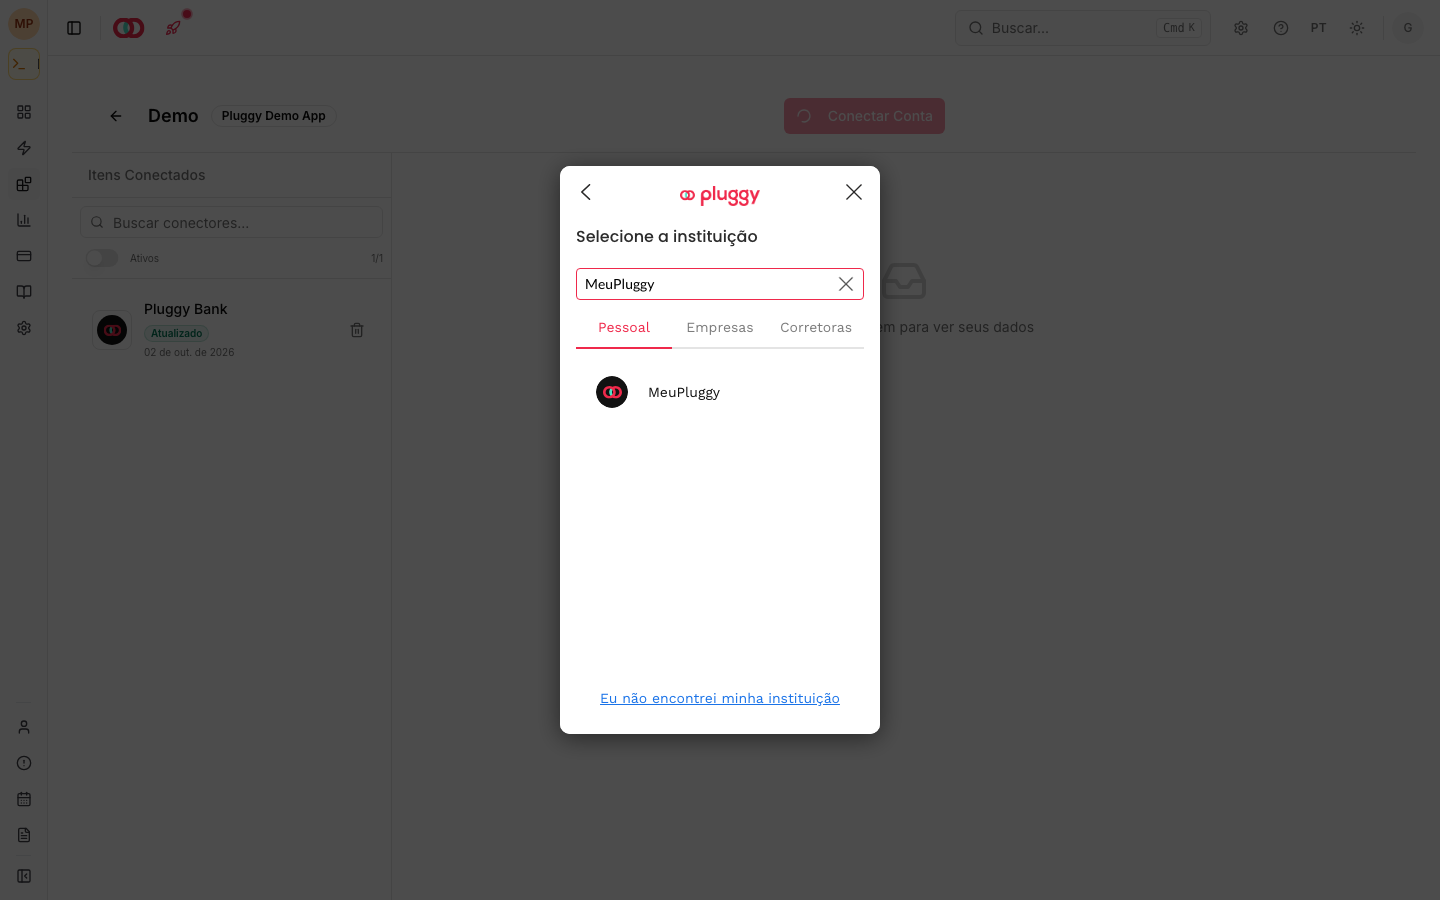
Each bank you connected in Meu Pluggy becomes an **item** in this application. These items mirror the Meu Pluggy connection: they reflect every update automatically (Meu Pluggy refreshes every 24 hours), they cannot be updated manually, and they send webhooks like any item.
If the Dashboard asks for your CPF and a bank approval again, you picked the bank's own connector instead of **MeuPluggy**. Go back and choose MeuPluggy.
## Step 3 — Copy the itemId and your credentials
- **itemId:** on the same **Demo** page, click the item in **Connected Items** and copy its id ([how](/docs/guides/dashboard-connectors#3-find-the-itemid)). Keep it — `GET /v2/items` is not available for Meu Pluggy accounts.
- **Client ID / Client Secret:** in **Applications**, on your application's row ([how](/docs/guides/dashboard-connectors#4-client-id-and-client-secret)).
## Step 4 — Read your data
```bash
# 1. Exchange your credentials for an API key
curl -X POST https://api.pluggy.ai/auth \
-H "Content-Type: application/json" \
-d '{"clientId": "", "clientSecret": ""}'
# → { "apiKey": "..." }
# 2. List the accounts of one connection
curl "https://api.pluggy.ai/accounts?itemId=- " \
-H "X-API-KEY: "
# 3. Transactions of one account (its id comes from step 2)
curl "https://api.pluggy.ai/transactions?accountId=" \
-H "X-API-KEY: "
```
The SDKs ([Node, Python and more](/docs/developer-tools/server-sdks)) make the same calls.
## Testing without real data
To try the flow without your own accounts, use the **Sandbox** connector with its [test credentials](/docs/guides/sandbox). Your Meu Pluggy connection is real data, never a sandbox.
## Questions
Questions about personal use go to the community on Discord: [discord.com/invite/EanrwJADby](https://discord.com/invite/EanrwJADby).